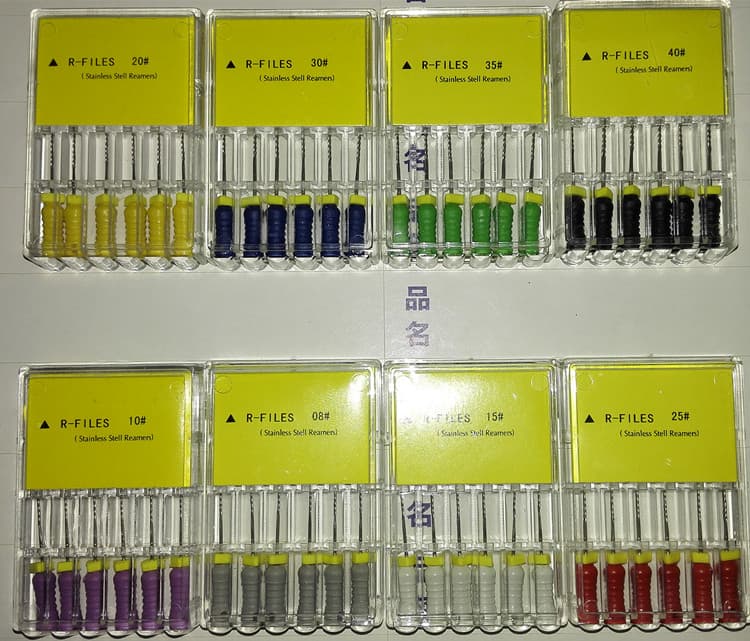
Manufacturing Process of Stainless Steel (SS) Dental Files
Compared with Nickel-Titanium (NiTi) Dental Files, the manufacturing process of Stainless Steel (SS) Dental Files is significantly different. Although both products are used in endodontic treatment, SS dental files are primarily manufactured through precision twisting, followed by heat treatment, electropolishing, injection molding, and quality inspection.
A typical manufacturing process includes the following steps.

Step 1 – Stainless Steel Wire Straightening
The manufacturing process begins with stainless steel wire. The wire is straightened to eliminate residual stress and ensure excellent linearity before machining.
Step 2 – Wire Cutting
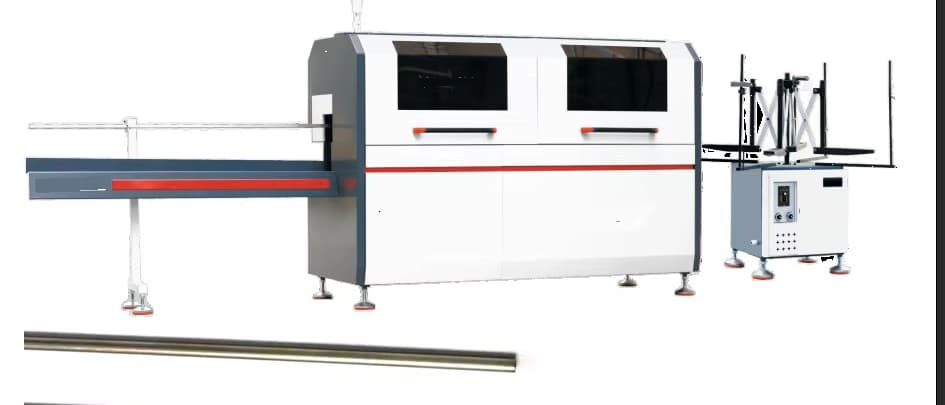
The straightened wire is cut to the required length.
In actual production, these first two processes are often omitted because pre-cut stainless steel wire can be purchased directly from suppliers. However, our production requires a specific wire length of 68 mm, so wire cutting is still performed whenever customized lengths are required.
Step 3 – Heat Treatment (Pre-Hardening)
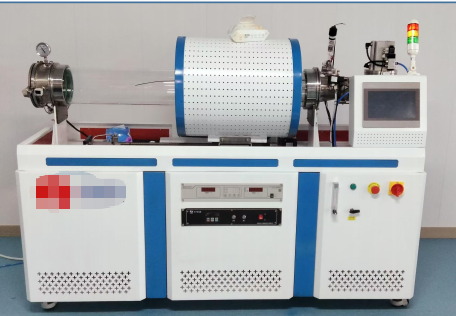
Before machining, the stainless steel wire is cleaned to remove any cutting oil and contaminants.
The wire then undergoes heat treatment at approximately 500°C for 1 hour to improve its mechanical properties before the twisting process.
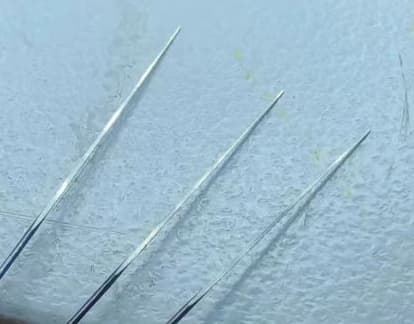
Step 4 – Tip Grinding
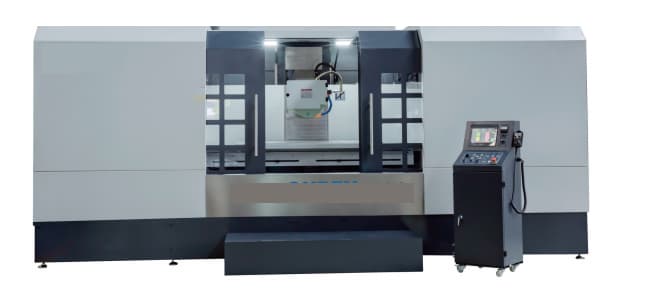
The front end of the wire is precision ground into either a square or triangular cross-section, depending on the type of dental file being manufactured.
This geometry is essential for producing consistent twisting results during the next process.
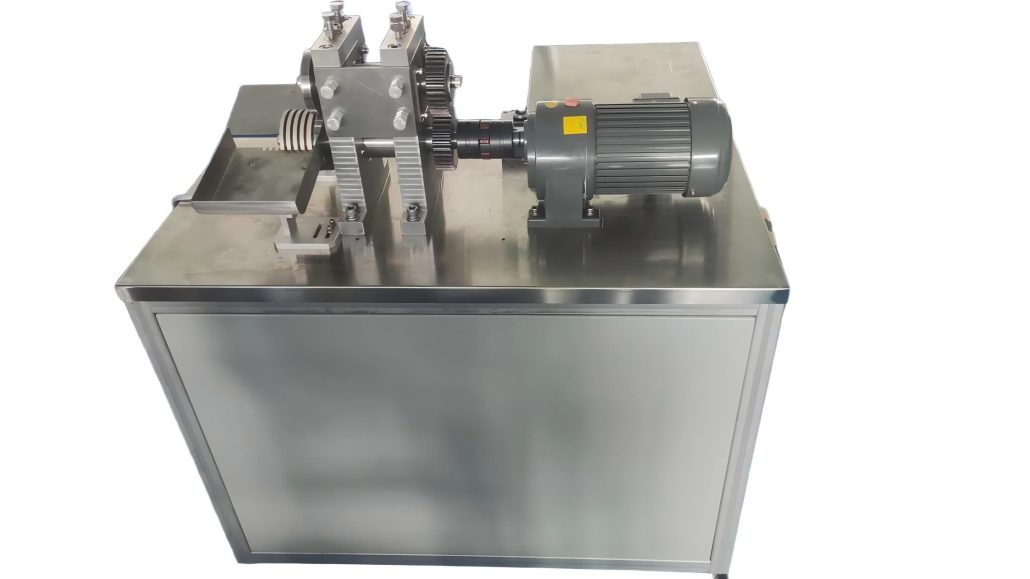
Step 5 – Twisting
The prepared wire is loaded into a dedicated Dental File Twisting Machine, where it is twisted to form the cutting flutes.
Different twisting parameters allow the machine to manufacture various products, including:
- K Files
- R Files
- Flexible Files
The twisting angle and number of rotations directly influence the cutting performance and flexibility of the finished dental file.
Different Manufacturing Methods for K Files and H Files
Although both K Files and H Files (Hedström Files) are widely used in endodontic treatment, their manufacturing processes are fundamentally different.
- K Filesare typically manufactured by twisting square or triangular stainless steel wire, creating helical cutting flutes with excellent flexibility and balanced cutting performance. The twisting process is the defining manufacturing characteristic of K Files and K Reamers.
- H Files (Hedström Files)are typically manufactured using precision CNC grinding rather than twisting. The cutting flutes are machined directly from a round stainless steel blank, producing a unique spiral geometry with sharp cutting edges. This manufacturing method provides excellent cutting efficiency, particularly during the withdrawal (pulling) stroke.

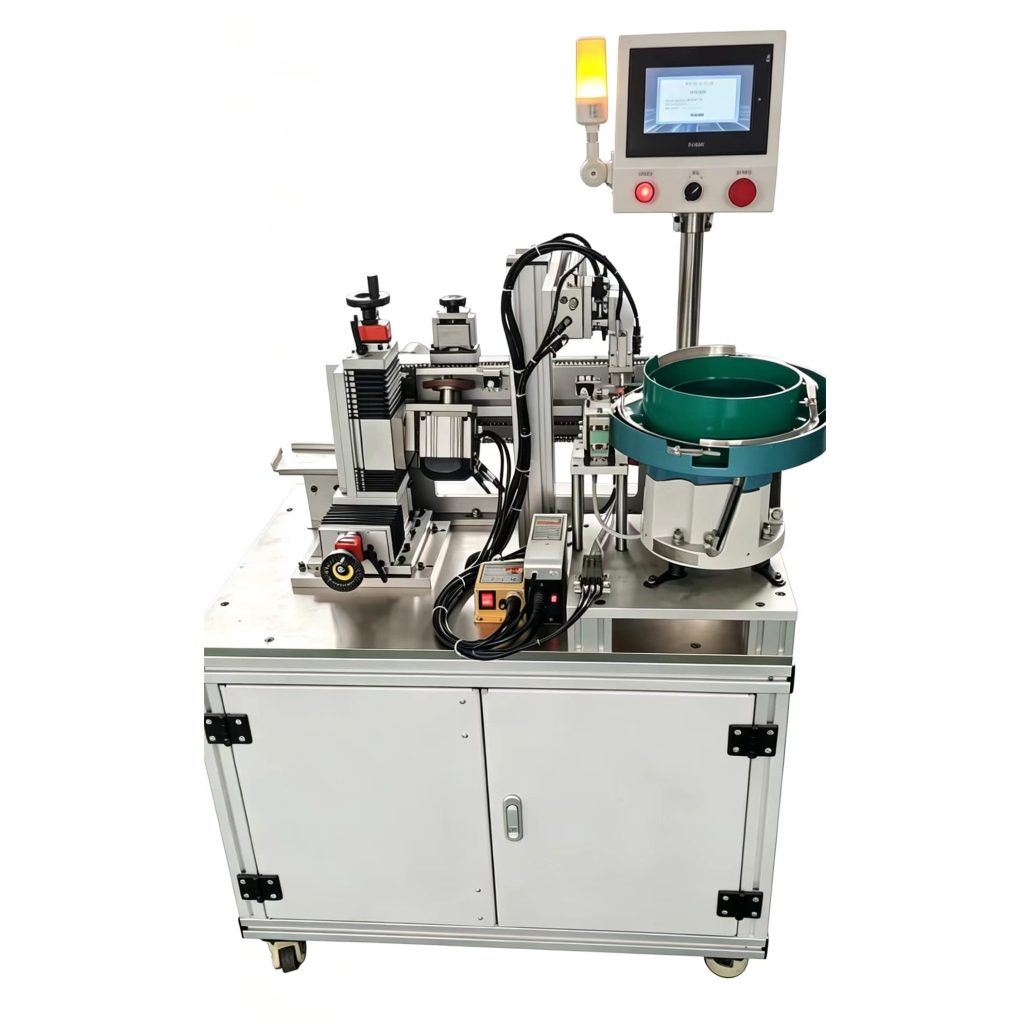
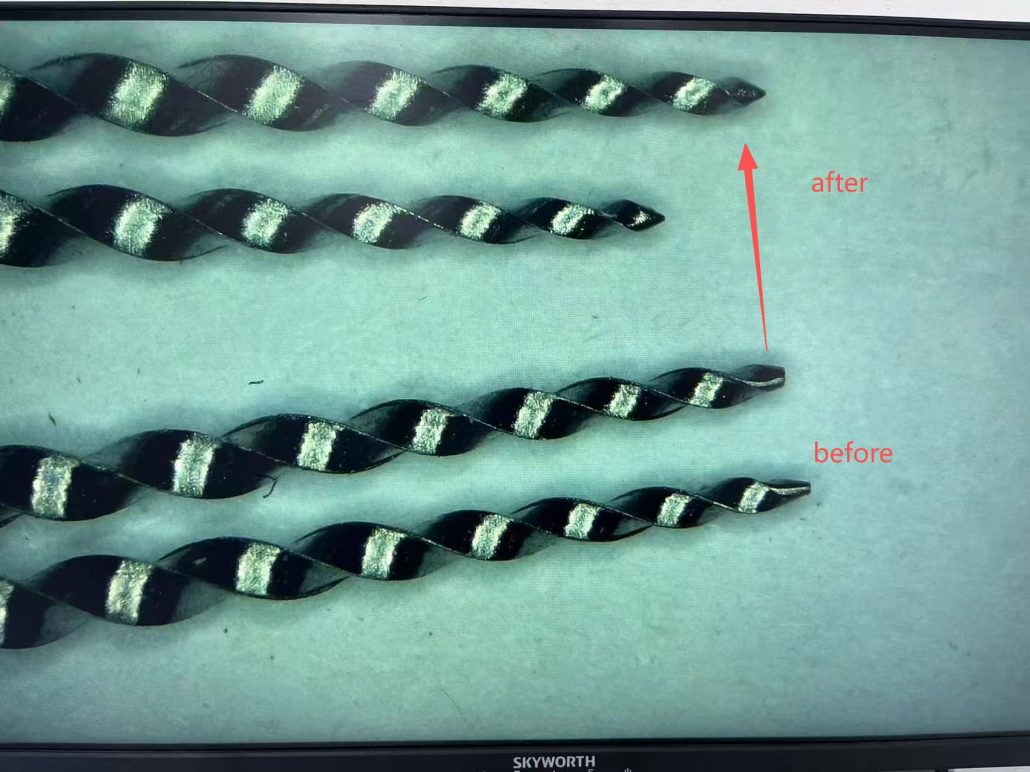
Step 6 – Tip Polishing
After twisting, the working tip of the dental file is polished to produce a smooth, sharp point.
Both manual and fully automatic polishing solutions are available.
For manual polishing, an operator holds multiple files and polishes the tips directly against a grinding wheel.
For automatic polishing, a vibratory bowl feeder automatically feeds individual files into the polishing machine, where each tip is polished with consistent quality and higher production efficiency.
Step 7 – First Inspection
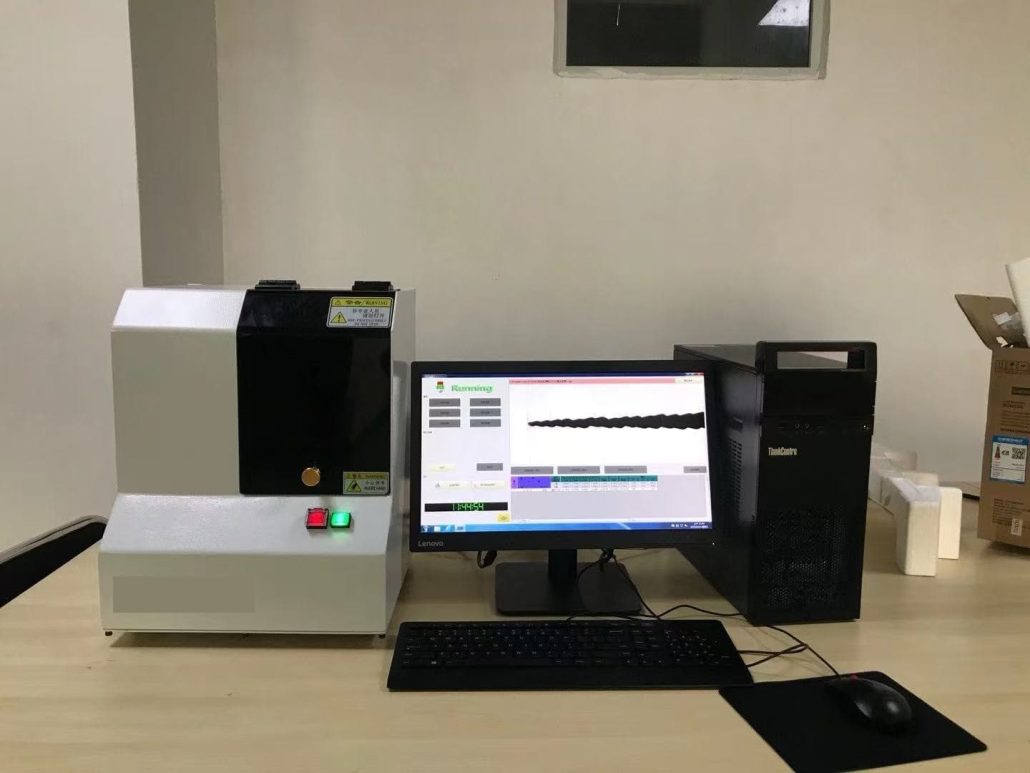
After the initial machining processes, the semi-finished files undergo the first quality inspection.
The purpose of this inspection is to identify and remove defective products before additional value-added processes are performed.
Early defect detection helps maintain product quality while reducing unnecessary manufacturing costs.
Step 8 – Heat Treatment
A second heat treatment process is carried out to harden the twisted dental files.
This step is essential.
Without proper heat treatment, the twisted flutes may gradually recover toward their original shape during clinical use, resulting in poor cutting performance and reduced product reliability.
Heat treatment ensures that the file permanently retains its designed geometry.
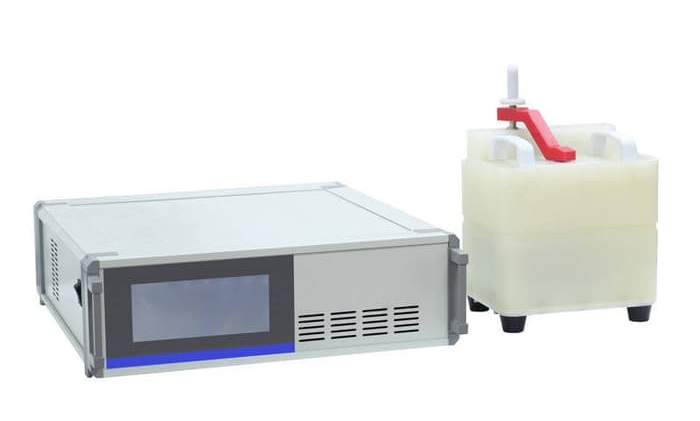
Step 9 – Flute Electropolishing
Following heat treatment, an oxide layer forms on the surface of the dental file, causing it to appear dark.
The files are therefore electropolished to remove the oxide layer, restore the natural stainless steel finish, and significantly improve corrosion resistance.
Electropolishing also produces a smoother surface, reducing the possibility of rust formation during storage and clinical use.
Step 10 – Wire Cutting and End Bending
The rear end of the dental file is cut and mechanically formed.
This operation prepares the file for the subsequent handle injection molding process and provides a secure mechanical connection between the file and the handle.
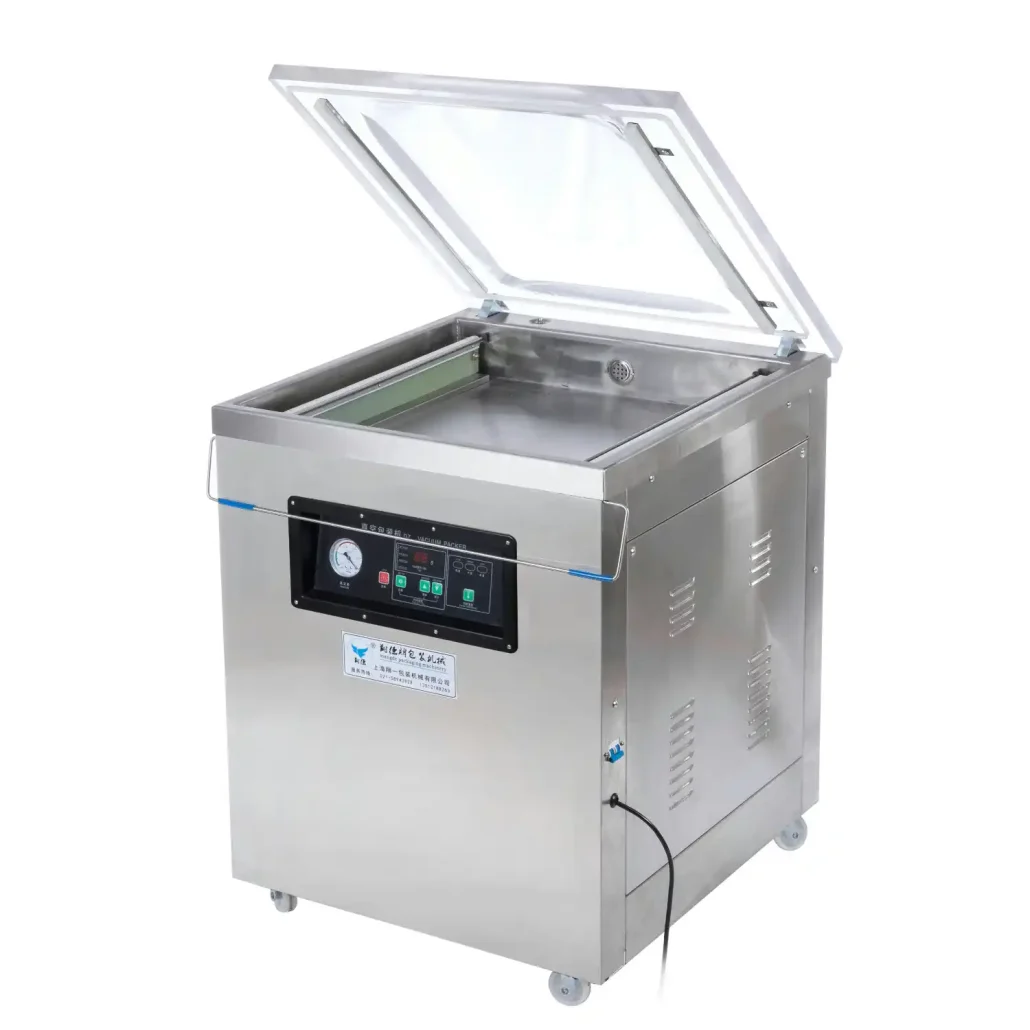
Step 11 – Ultrasonic Cleaning
The dental files are transferred to an Ultrasonic Cleaning Machine.
Ultrasonic cleaning removes machining oil, metal particles, polishing residue, and other contaminants remaining from the previous manufacturing processes, ensuring a clean surface before assembly.
.
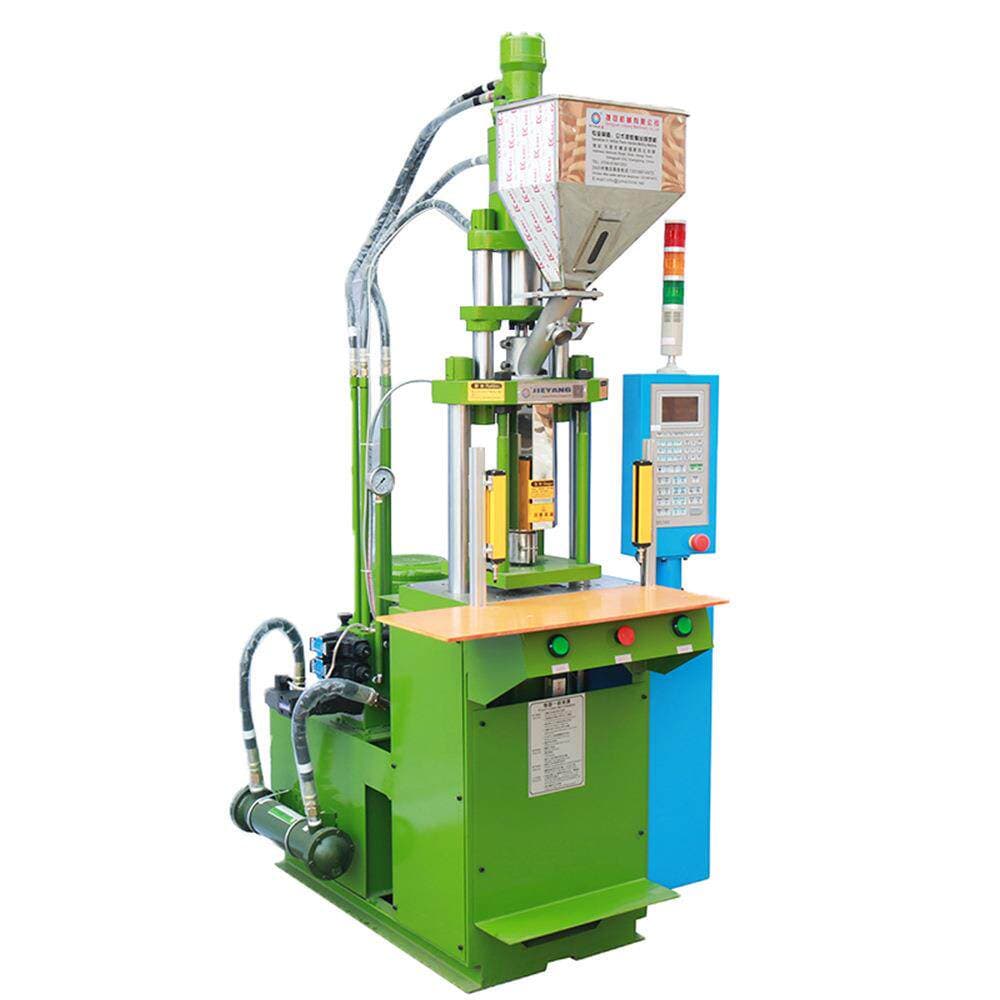
Step 12 – Handle Injection Molding and File Assembly
The dental file is manually inserted into the injection mold.
During the injection molding process, the plastic handle is molded directly onto the file, completing both handle manufacturing and file assembly simultaneously.
At present, this process still requires manual loading to ensure accurate positioning before injection molding.
.
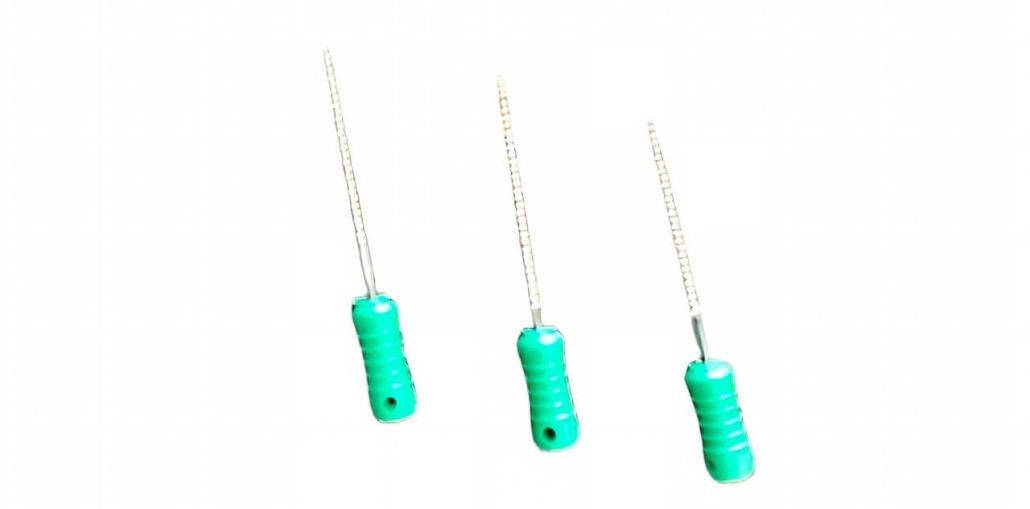
Step 13 – Handle Color Printing
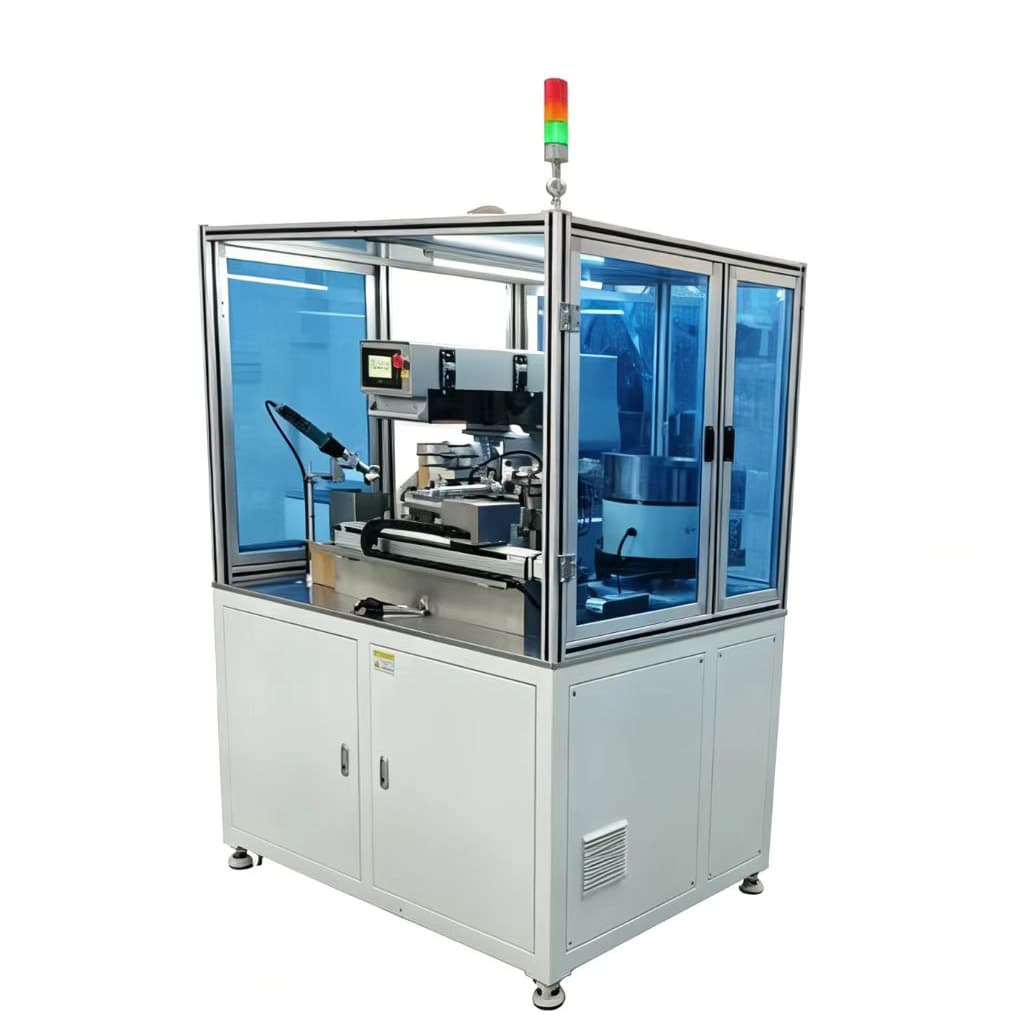
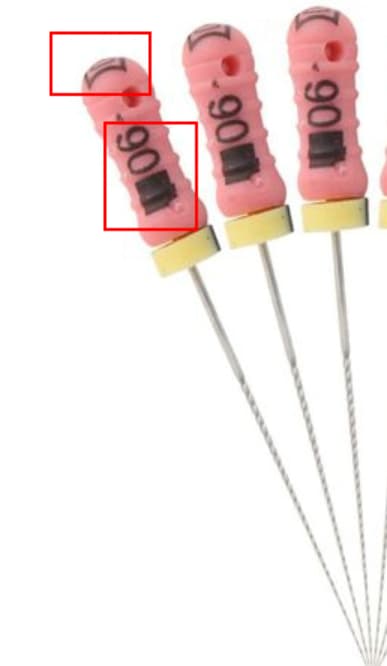
Color identification marks are printed on the handle according to ISO standards.
Both semi-automatic pad printing machines and fully automatic printing machines can be used.
Two separate areas of the handle require color printing for product identification.
https://youtu.be/wLrJhBMMoyw
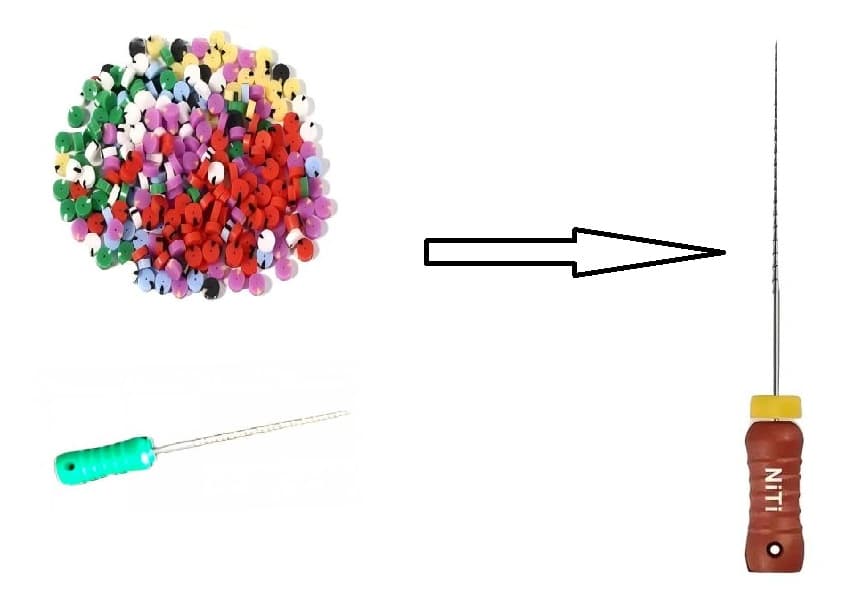
Step 14 – Silicone Stopper Installation
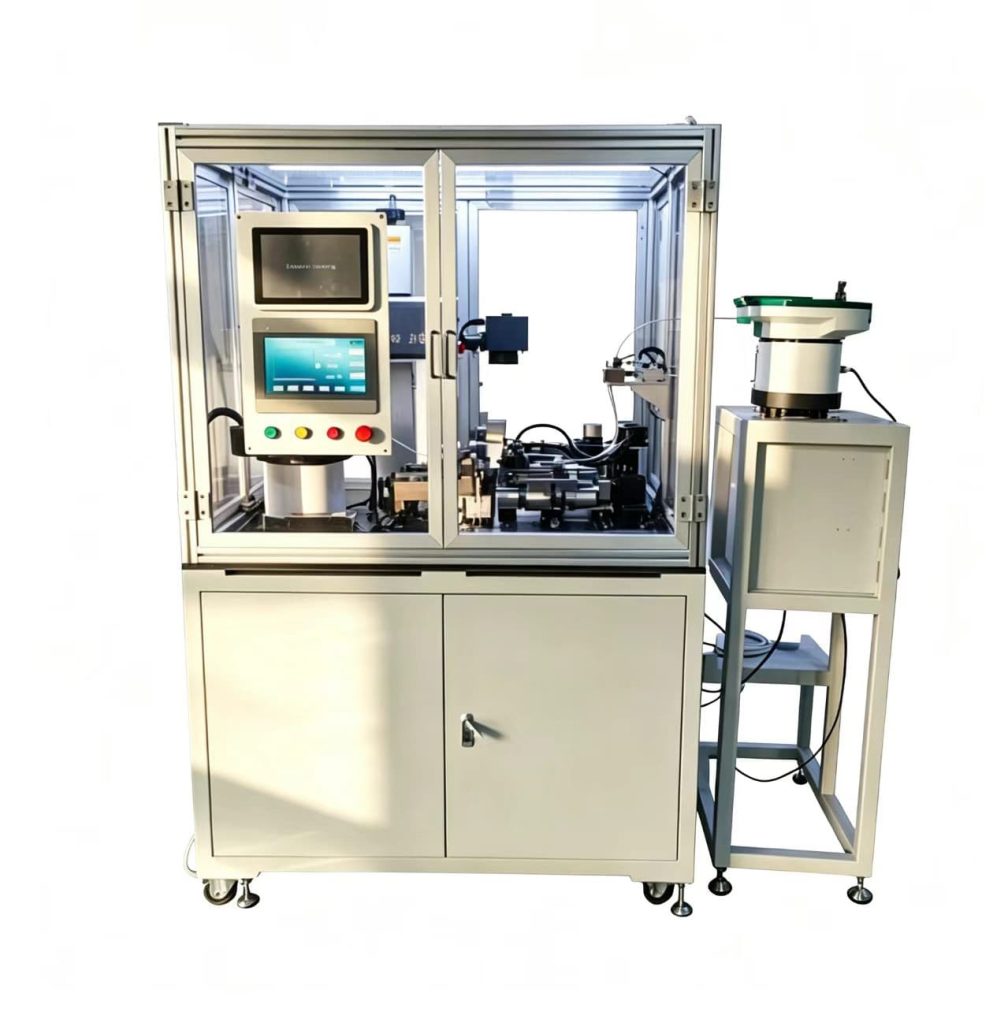
A fully automatic assembly machine installs the silicone stopper onto the dental file.
The silicone stopper allows clinicians to accurately control the working length during root canal treatment.
Step 15 – Final Inspection
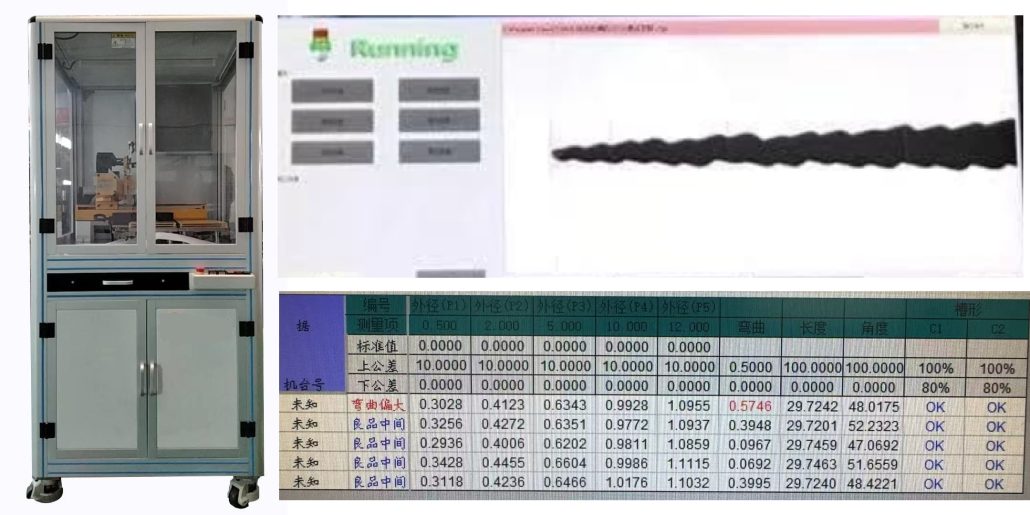
After assembly, every dental file undergoes a comprehensive final inspection using a fully automatic inspection machine.
The inspection verifies assembly quality, dimensions, appearance, and overall product consistency before packaging.
Step 16 – Packaging
The final packaging process depends on the customer’s packaging requirements.
Different packaging configurations require different automatic packaging machines, including blister packaging, tube packaging, or retail box packaging.
Selecting the appropriate packaging solution helps improve production efficiency while ensuring accurate counting and stable product feeding.